Welding different types of metals together can be a tricky task, but it’s one that every welder faces at some point. If you’re trying to join stainless steel to mild steel using TIG welding, you’re in for an exciting challenge. The good news is that with the right approach, tools, and techniques, you can achieve a strong, clean, and reliable weld.
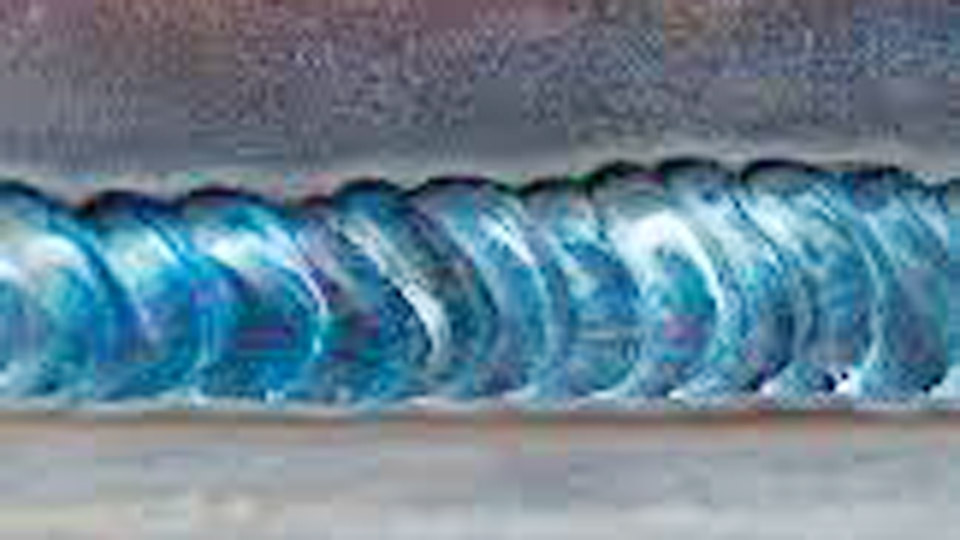
Image by unimig.com.au
I’ll share everything I’ve learned about TIG welding stainless steel to mild steel, from preparation to the finishing touches. If you’re tackling this for the first time or just want to refine your skills, this article will walk you through the entire process. Let’s dive into it.
Stainless Steel vs Mild Steel
Before we even talk about welding, it’s important to understand the materials you’re working with. Stainless steel and mild steel have different properties that can make joining them a bit challenging.
Stainless Steel: Known for its corrosion resistance and shiny finish, stainless steel contains chromium, which forms a protective layer against rust. It’s strong, durable, and ideal for applications where exposure to moisture or harsh conditions is a concern.
Mild Steel: Mild steel, or low-carbon steel, is more affordable and easier to work with. It lacks the corrosion resistance of stainless steel and requires a protective coating or finish to prevent rust.
The key to welding these two metals together lies in managing their differences in composition, thermal conductivity, and expansion rates.
Why Use TIG Welding for Stainless to Mild Steel?
TIG welding, or Gas Tungsten Arc Welding (GTAW), is the ideal method for joining stainless steel to mild steel. It offers several advantages:
- Precision: TIG welding provides excellent control, allowing you to create clean and detailed welds.
- Heat Control: With TIG welding, you can control the heat input, reducing the risk of warping or burning through the materials.
- Versatility: It’s effective for welding dissimilar metals, making it perfect for projects that involve stainless and mild steel.
Preparing for TIG Welding Stainless to Mild Steel
Preparation is key to achieving a successful weld. Here are some steps you should follow:
Clean the Materials
Both stainless and mild steel need to be free from contaminants like dirt, grease, or rust. Use a wire brush or a clean cloth with acetone to remove any debris. Make sure to use separate tools for each metal to avoid cross-contamination.
Set Up the Joint
Fit-up is critical when welding two different metals. Ensure that the pieces are aligned properly and that the joint is tight. Use clamps or fixtures to hold everything in place.
Choose the Right Filler Rod
The filler rod you use will play a significant role in the quality of your weld. For stainless to mild steel, a filler rod like ER309L is recommended. It’s designed to handle the differences in composition and thermal expansion.
Select the Proper Shielding Gas
Use pure argon as your shielding gas. Argon provides a stable arc and protects the weld pool from contamination. In some cases, an argon-helium mix might be used for added heat.
Set the Correct Amperage
Stainless steel and mild steel require different levels of heat, so it’s important to find the right balance. Start with a lower amperage and adjust as needed during welding.
Welding Process: Step-by-Step
Now that you’re prepared, let’s go through the TIG welding process:
Start with a Clean Tungsten Electrode
Use a sharp tungsten electrode for precise control. For this application, a 2% thoriated or lanthanated tungsten is a good choice.
Establish the Arc
Hold the torch at a 70-80 degree angle to the workpiece and establish a stable arc. Focus on creating a consistent puddle to avoid overheating the materials.
Begin Welding
Start welding from the stainless steel side, as it has a higher melting point. Gradually move the arc toward the mild steel. This technique helps control the heat distribution and minimizes issues like cracking.
Feed the Filler Rod
Add the ER309L filler rod to the leading edge of the weld pool. Keep the rod close to the arc but avoid dipping it directly into the tungsten.
Maintain a Steady Speed
Move the torch at a consistent speed to ensure even penetration and a smooth weld bead. Avoid lingering too long in one spot, as it can cause overheating and distortion.
Watch for Color Changes
The weld should have a shiny, even appearance. If it turns dark or dull, it’s a sign of overheating or poor shielding gas coverage.
Cool Down Gradually
Once you’ve completed the weld, let it cool down naturally. Avoid quenching the joint, as rapid cooling can lead to brittleness or cracking.
Post-Weld Considerations
After welding, there are a few steps you can take to ensure the integrity and appearance of your work:
Inspect the Weld
Check for any defects like cracks, porosity, or undercutting. A strong weld should be smooth and free from irregularities.
Remove Discoloration
Stainless steel often develops a heat tint near the weld area. Use a stainless steel wire brush or pickling paste to remove this discoloration.
Apply a Protective Coating
If the mild steel portion of your weld will be exposed to moisture, consider applying a protective coating to prevent rust.
Troubleshooting Common Issues
Even experienced welders can run into challenges when TIG welding stainless to mild steel. Here are some common problems and how to address them:
| Issue | Cause | Solution |
|---|---|---|
| Cracking at the Weld | Improper filler rod or cooling | Use ER309L and allow gradual cooling |
| Porosity in Weld | Poor shielding gas coverage | Check gas flow and nozzle size |
| Overheating the Joint | Excessive amperage | Reduce heat settings |
| Warping or Distortion | Uneven heat input | Use heat sinks or clamps |
Applications of TIG Welding Stainless to Mild Steel
This technique is used in various industries and projects where the unique properties of both materials are required:
- Automotive Industry: Joining stainless exhaust systems to mild steel frames.
- Construction: Creating structural components with a mix of durability and affordability.
- Manufacturing: Fabricating equipment that combines strength and corrosion resistance.
- DIY Projects: Home welding projects that require precision and aesthetic appeal.
Conclusion
TIG welding stainless steel to mild steel may seem daunting at first, but with the right preparation and technique, it’s entirely achievable.
By understanding the properties of each metal, using the correct filler rod, and maintaining precise control, you can create strong and reliable welds that stand the test of time.
This method is versatile, clean, and perfect for applications where aesthetics and functionality go hand in hand. With practice and attention to detail, you’ll be able to master this skill and apply it to a wide range of projects.
FAQs
What filler rod should I use for TIG welding stainless to mild steel?
ER309L is the recommended filler rod as it bridges the compositional differences between stainless and mild steel.
Can I use a regular wire brush to clean stainless steel before welding?
No, always use a dedicated stainless steel wire brush to prevent cross-contamination.
Why is pure argon used as shielding gas?
Pure argon provides a stable arc and protects the weld pool from contamination.
Is preheating necessary for TIG welding stainless to mild steel?
Preheating isn’t usually required, but it can help reduce the risk of cracking in thicker materials.
How can I prevent warping during welding?
Use clamps or heat sinks to hold the pieces in place and control heat input during the weld.