TIG pipe welding is one of those skills that truly sets a welder apart. It requires precision, patience, and a deep understanding of technique. When I first started welding, I quickly realized that welding pipes with the TIG (Tungsten Inert Gas) process isn’t just about laying a bead—it’s about mastering heat control, consistency, and positioning.
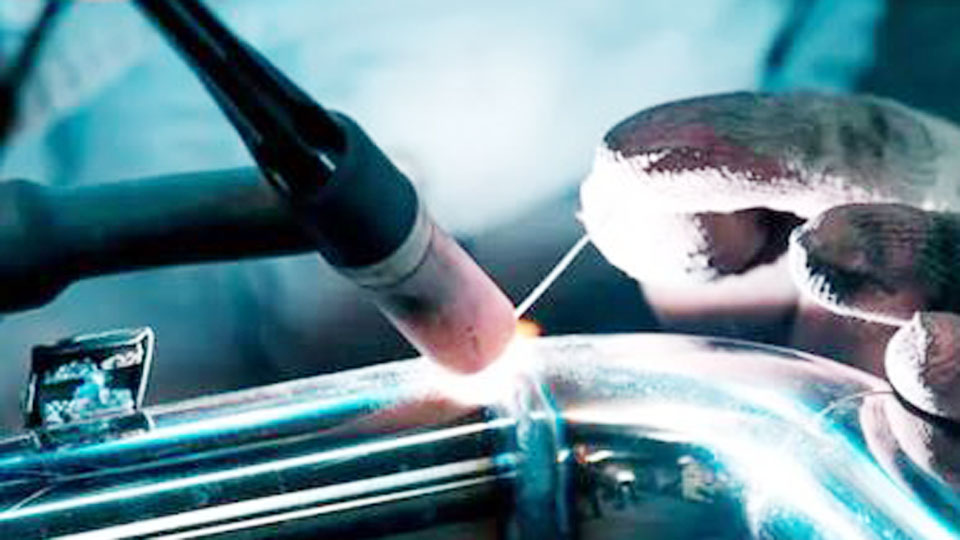
Image by fractory
TIG welding is widely used in industries like oil and gas, aerospace, and food processing because of its ability to create clean, high-quality welds. But it’s also one of the more challenging welding methods, especially when dealing with pipes.
If you want to improve your TIG pipe welding skills or understand what makes it different from welding flat plates, I’ll guide you through the techniques, tips, and best practices that have helped me achieve better welds over time.
What Makes TIG Pipe Welding Different?


Pipe welding is much more demanding than welding on a flat surface. Unlike welding on a table, where you can move freely, pipe welding requires you to work in multiple positions as you move around the circumference of the pipe.
The main challenges include:
- Maintaining a consistent arc length while working in different positions.
- Avoiding burn-through on thinner-walled pipes.
- Preventing contamination by ensuring clean tungsten and shielding gas coverage.
- Controlling heat input to avoid distortion or excessive oxidation.
TIG welding, also called Gas Tungsten Arc Welding (GTAW), is known for its precise and clean welds, making it ideal for pipe joints that need to withstand pressure or meet high sanitary standards.
Essential Equipment for TIG Pipe Welding
Before we get into techniques, let’s talk about what you need for TIG pipe welding. Having the right setup can make a huge difference in weld quality and ease of execution.
1. TIG Welder – A high-frequency AC/DC TIG welder with foot pedal control is preferred for fine heat adjustments.
2. Tungsten Electrodes –
- Thoriated (2% Red) for carbon steel.
- Ceriated (2% Grey) or Lanthanated (2% Blue) for stainless steel.
- Pure Tungsten (Green) for aluminum pipes.
3. Shielding Gas –
- 100% Argon for stainless steel and carbon steel.
- Argon-Helium Mix for deeper penetration in thicker pipes.
4. Filler Rods –
- ER70S-2 for carbon steel.
- ER308L for stainless steel.
- ER4045 or ER5356 for aluminum.
5. Purge System – Stainless steel pipes require argon purging inside the pipe to prevent oxidation and contamination.
6. Proper PPE – Auto-darkening helmet, high-quality gloves, and flame-resistant clothing are must-haves.
Key TIG Pipe Welding Techniques
Now that we have the right setup, let’s go over the core techniques needed for high-quality TIG pipe welds.
Proper Pipe Preparation
A clean surface is everything in TIG welding. Unlike stick or MIG welding, where a little contamination might not ruin the weld, TIG is very sensitive to dirt, oil, and rust.
- Clean the pipe edges with a grinder or wire brush.
- Use acetone to remove any grease or oils.
- Deburr the inside edge to avoid contamination.
If you’re welding stainless steel, it’s also critical to purge the inside of the pipe with argon to prevent oxidation, which can weaken the weld.
Tack Welding for Proper Alignment
Tacking is one of the most important steps in pipe welding. Since the pipe is round, gravity and heat expansion can cause misalignment.
- Use at least four tack welds evenly spaced around the pipe.
- Keep tack welds small so they don’t interfere with the final weld.
- Feather the tack welds with a grinder so they blend smoothly when welded over.
Walking the Cup vs Freehand Technique
There are two main techniques for TIG pipe welding:
Walking the Cup – This technique involves resting the ceramic cup of the TIG torch on the pipe and “walking” it along the joint. This provides excellent stability and consistent weld beads. It’s best for:
- Stainless steel and thick-walled pipes.
- High-precision welds in industrial applications.
Freehand Welding – This method requires keeping a steady hand without torch support. It offers more control in tight spaces but is harder to master. Freehand welding is better for:
- Thin-walled pipes where too much heat can cause burn-through.
- Overhead or hard-to-reach areas where the cup cannot rest on the pipe.
Controlling Heat Input and Arc Length
Too much heat can distort the pipe or burn through thinner material. Too little heat can lead to poor penetration and weak welds.
- Use a foot pedal or finger control to adjust heat dynamically.
- Keep a steady arc length (around 1/8 inch) to maintain stability.
- For stainless steel, use pulsed TIG settings to reduce heat input while maintaining penetration.
Filler Rod Technique
The way you add filler metal makes a huge difference in weld quality.
- Dip the filler rod smoothly into the puddle—don’t just shove it in.
- Keep the filler rod within the shielding gas zone to prevent oxidation.
- For root passes, use a slight weave motion for better fusion.
Welding in Different Positions
Pipe welding requires welding in multiple positions as you move around the pipe. Here’s how to handle different sections:
| Position | Technique |
|---|---|
| 1G (Flat) | Pipe is horizontal, easy to weld, best for beginners. |
| 2G (Horizontal) | Torch angles become critical to avoid undercut. |
| 5G (Fixed Horizontal) | Requires moving from bottom to sides to top, adjusting angles carefully. |
| 6G (Fixed at 45° Angle) | Most challenging position, requires full mastery of torch and filler control. |
The 6G position is the ultimate test for a welder. Mastering this means you can weld in any situation.
Common TIG Pipe Welding Mistakes and Fixes
Even experienced welders make mistakes. Here are some of the most common ones and how to fix them:
| Mistake | Cause | Solution |
|---|---|---|
| Porosity (holes in weld) | Contaminated metal or poor gas coverage | Clean thoroughly, check gas flow, use purging for stainless steel. |
| Lack of fusion | Too little heat or incorrect angle | Increase amperage, ensure proper torch angle. |
| Burn-through | Too much heat on thin pipes | Reduce amperage, use pulsed settings, keep a steady arc. |
| Inconsistent bead width | Poor torch movement or filler rod technique | Maintain steady travel speed, practice even filler addition. |
Conclusion
TIG pipe welding is a highly skilled trade, but with the right technique, anyone can master it. The key is proper preparation, heat control, and steady movement.
If you’re working on high-pressure pipelines or sanitary stainless steel piping, the principles remain the same: clean metal, good fit-up, and precise arc control.
With practice, TIG pipe welding becomes second nature, and the welds you create will be strong, clean, and professional.
If you’re serious about welding pipes, invest time in learning torch control, filler rod techniques, and different welding positions. The effort will pay off with better welds and more job opportunities in industries that rely on high-quality pipe welding.
FAQs
Why is argon purging necessary for stainless steel pipes?
It prevents oxidation inside the pipe, ensuring corrosion-resistant welds.
Can I use a foot pedal for pipe welding?
Yes, but for tight spaces, many welders prefer a finger switch on the torch.
What’s the best tungsten for welding stainless steel pipes?
2% Lanthanated (Blue) or 2% Ceriated (Grey) for better arc stability.
Why is 6G pipe welding so difficult?
It requires welding in all positions without rotating the pipe, testing a welder’s full skill set.
How do I prevent warping in thin pipes?
Use pulse settings, reduce amperage, and weld in short sections to control heat input.