When I first picked up a welding rod, I’ll be honest—I was both excited and nervous. Stick welding, or what many call Shielded Metal Arc Welding (SMAW), looks simple at a glance. Once you strike that arc, you realize it takes more than just holding a rod to make a good weld.
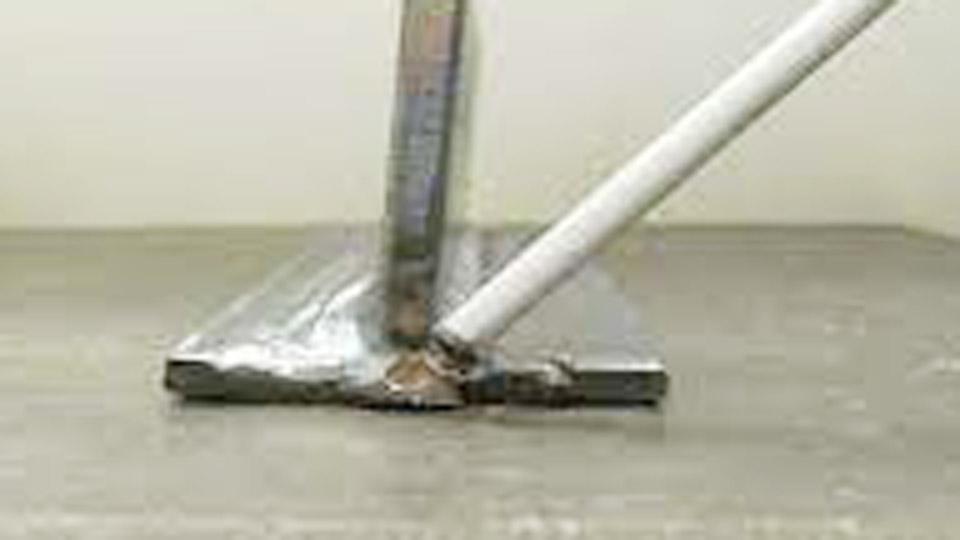
Image by slideserve
If you’re just starting out, I know exactly what you’re feeling. I’ve been there too—burned through a pile of rods, stuck electrodes like glue, and chipped more slag than I care to admit. But the good news is, with some guidance and practice, you’ll be laying clean beads in no time.
This guide is just for you—whether you’re in your garage, on your first job site, or learning in school. I’ve gathered the best stick welding tips and tricks that helped me when I was getting started.
These tips are easy to understand, practical, and something you can apply right away. Let’s dive into it together.
What is Stick Welding and Why Is It So Popular?
Stick welding uses a consumable electrode coated in flux. The electrode melts as you weld, creating both the filler metal and a gas shield from the burning flux. It’s one of the most rugged and portable welding methods out there.
You don’t need fancy gas tanks or a perfect environment. This is the go-to welding process for outdoor work, pipe welding, repairs, and even farm equipment.
What makes it popular among beginners is its simplicity in setup. Just plug in your machine, select the right rod, and you’re good to go. It’s also budget-friendly. You don’t need an expensive welder to start practicing at home.
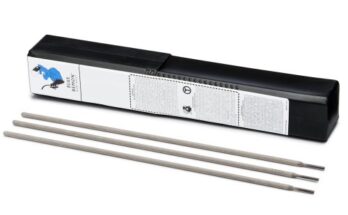
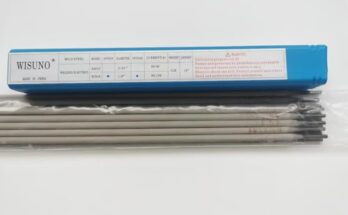
Know Your Electrode Rods
Choosing the right rod can make your welding experience much smoother. I learned early on that different rods are made for different situations. Here’s a simple table to help you get familiar with the most beginner-friendly rods:
| Electrode | Polarity | Characteristics | Best Use |
|---|---|---|---|
| 6011 | AC/DC+ | Deep penetration, fast freezing | Dirty or rusty metal |
| 6013 | AC/DC | Smooth arc, medium penetration | Sheet metal, clean steel |
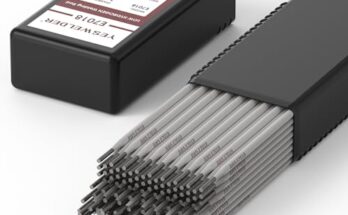
| 7018 | DC+ (or AC with special machine) | Smooth, strong, low hydrogen | Structural work, new steel |
If you’re new, start with 6013. It’s forgiving, easier to control, and gives nice-looking welds. Once you’re comfortable, give 7018 a try for cleaner and stronger welds.
Getting Your Welder Settings Just Right
One of the first lessons I learned is that your machine settings make a huge difference. Too much heat and you’ll burn holes. Too little, and your weld won’t penetrate properly.
Here’s a guide to help you set your amperage:
| Rod Diameter | Suggested Amps |
|---|---|
| 3/32 inch | 40–90 amps |
| 1/8 inch | 80–130 amps |
| 5/32 inch | 110–160 amps |
Start on the low end and adjust as needed. If the rod sticks too often, bump it up a bit. If it’s spitting too much or burning too fast, lower the amps. You’ll feel the difference.
Practice Striking the Arc
One of the trickiest things for beginners is striking the arc. There are two methods: the tap and the scratch.
I personally found the scratch method easier when I started. Just drag the rod like you’re striking a match. Once the arc forms, pull it slightly back to maintain a small gap.
A steady hand helps a lot here. Don’t get discouraged if the rod sticks. It happens to everyone. Just break it loose and try again. You’ll get the hang of it after a few tries.
Mastering Rod Angle and Travel Speed
Getting a clean bead has everything to do with your angle and speed. Hold your rod at about a 15-degree angle away from your travel direction. That way, the arc and slag are pushed behind the puddle, not in it.
Move your rod slowly and steadily. If you go too fast, your bead will be narrow and weak. Too slow, and you’ll get a wide, messy weld with lots of buildup.
Watch your puddle and let it guide your movement. It takes practice, but once you see that perfect pool forming, you’ll know you’re doing it right.
Clean Metal = Better Welds
Don’t underestimate the importance of surface prep. Even though stick welding can burn through rust and paint, I always recommend cleaning your metal first. Use a wire brush or grinder to get rid of any dirt, oil, or coatings.
Cleaner metal helps the arc stay steady and your welds look better. Plus, you’ll avoid porosity and weak spots in your joints. A few extra minutes of prep can save you hours of rework.
Watch Your Arc Length
Arc length is the space between your rod and the metal. A good rule of thumb is to keep the arc about the same length as the diameter of your rod. If you’re using a 1/8 inch rod, your arc should be about 1/8 inch away.
Too long of an arc causes spatter, noise, and a weaker weld. Too short, and it can snuff out your arc. Once I started watching my arc length more closely, my welds instantly got better.
Don’t Forget the Slag
After a weld, you’ll see a layer of hardened flux called slag. Always chip it off before inspecting your weld or adding another pass. Use a chipping hammer and wire brush.
Be careful though—hot slag can fly! Wear safety glasses and long sleeves. If the slag comes off easily and leaves a smooth weld behind, that’s a good sign your bead was solid.
Practice in Flat Position First
There are several welding positions—flat, horizontal, vertical, and overhead. If you’re just starting out, begin in the flat position. It’s the easiest to control, and you’ll get a feel for your puddle and rod motion.
Once you’ve got the flat position down, move on to horizontal, then vertical. Overhead welding is the trickiest and should be saved for later. Always master the basics first before taking on a harder challenge.
Hold Your Welds Steady with a Good Stance
I didn’t realize how much my body position affected my welds until I started paying attention to it. If you’re not steady, your weld won’t be either. Brace your arms, keep your feet planted, and get close to your work without straining.
If you need to reposition halfway through a weld, pause and reset yourself. It’s better to stop and restart than try to weld while off balance.
Start with Short Beads
When you’re new, it’s tempting to try long, continuous welds. I recommend starting with short beads—maybe an inch or two at a time. That way, you can focus on consistency.
After each short bead, chip your slag, inspect your weld, and make adjustments before continuing. This practice really helped me learn faster and improve my results.
Let Your Rod Do the Work
A common beginner mistake is to force the rod through the joint. But really, your rod should do the work. Just guide it. Keep a light, steady hand. Let the arc melt the metal and fill the joint.
If you’re pushing too hard or jabbing at it, stop and relax your grip. It should feel like you’re painting with fire—controlled and smooth.
Some Mistakes Beginners Make (and How to Avoid Them)
Here are a few mistakes I made early on—and how you can avoid them:
- Rod sticking – Try higher amps or a faster arc strike.
- Uneven welds – Slow down and steady your hand.
- Too much spatter – Lower your arc length and double-check your settings.
- Porosity in welds – Clean your metal better and avoid welding in wind.
- Undercut – Reduce your amperage or slow your travel speed.
Every mistake is a lesson. Just don’t get discouraged. I ruined plenty of scrap metal before I found my rhythm.
Safety First, Always
Stick welding gets hot. Really hot. Make sure you wear proper safety gear:
- A quality auto-darkening welding helmet
- Fire-resistant gloves
- Long sleeves and pants (no polyester!)
- Leather boots
- Safety glasses (under your hood for extra protection)
Also, keep your work area clean and ventilated. Stick welding gives off fumes, so make sure you’re not breathing it in directly. And always have a fire extinguisher nearby—especially when working outside or in a shop.
Helpful Tools to Keep Around
Here are a few tools that made my stick welding journey smoother:
- Chipping hammer
- Wire brush
- Angle grinder
- Welding pliers
- Magnetic clamps
- Welding table or bench
These tools may not be flashy, but they’ll save you a lot of time and frustration.
Stick Welding Is a Skill Anyone Can Learn
Stick welding takes patience, practice, and a little bit of grit. Once you get the hang of it, you’ll feel proud of the work you can do with just a rod and a machine.
I’ve welded on job sites, in barns, in freezing temps, and in my own backyard. And every weld taught me something new.
Weld a little every day. Try different rods, different positions, and different materials. You’ll be surprised at how fast you improve. And who knows? Maybe one day, you’ll be the one teaching someone else these same tips and tricks.
Conclusion
If you’re just starting out in stick welding, remember this: you’re not alone, and you don’t have to be perfect right away. It’s okay to make mistakes. It’s part of the learning curve. What matters most is sticking with it—pun intended.
Stick welding is one of the most versatile and rewarding skills you can learn. With a little time, patience, and the tips I’ve shared here, you’ll start seeing real progress. Your beads will get smoother, your joints will get stronger, and your confidence will go through the roof.
Welding is a craft, and every welder has their own journey. So keep your hood down, your hands steady, and your passion burning. You’ve got this.
FAQs
What is the best rod for beginner stick welding?
6013 is one of the best rods for beginners because it’s easy to use and creates a nice smooth bead.
Why does my electrode keep sticking to the metal?
This usually means your amperage is too low, or your arc strike needs improvement. Try increasing the amps slightly and practice your arc starts.
Can you stick weld on rusty metal?
Yes, but it’s better to clean the surface first. 6011 rods work well for welding on rusty or dirty metal.
How do I know what amperage to use?
Check the rod size and follow general guidelines. For example, a 1/8 inch rod usually runs best at 80–130 amps.
Is stick welding stronger than MIG?
In many cases, yes. Stick welding is known for strong penetration, especially in outdoor and structural applications.
Do I need to wear safety glasses if I’m using a helmet?
Yes. Safety glasses protect your eyes from flying slag and debris that can sneak in under your hood.
What’s the easiest welding position for beginners?
Flat position is the easiest. It gives you the most control over the puddle and rod.
Why is there slag on my weld?
Slag is the leftover flux coating from the rod. Chip it off after your weld cools to see your finished bead.
What’s the most common mistake beginners make in stick welding?
Moving too fast and not keeping a steady hand. Take your time and watch your puddle.
Can I weld thin metal with stick welding?
Yes, but be careful with heat. Use smaller rods like 3/32 inch and lower amperage to avoid burning through.