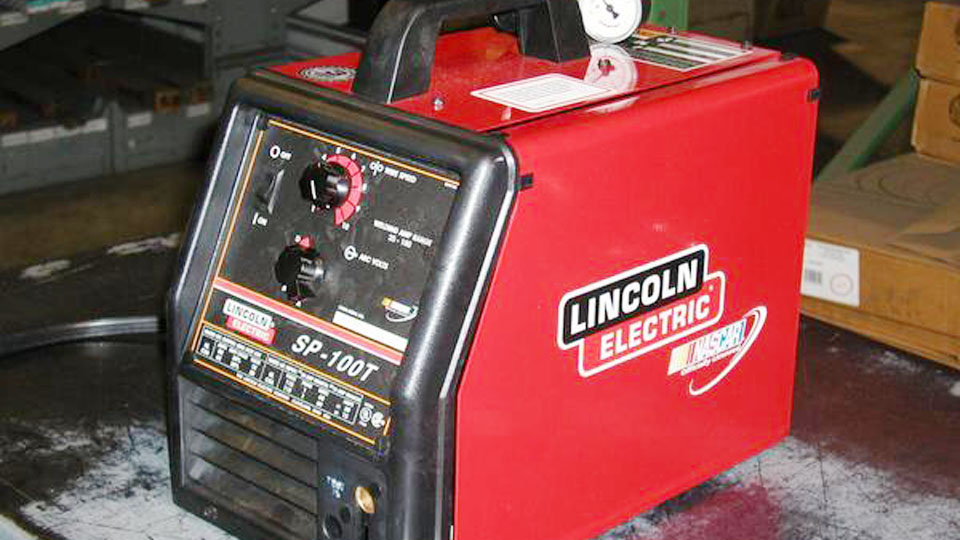
When I first started welding, one of the biggest challenges was figuring out the right settings for my Lincoln MIG welder. I quickly learned that adjusting the wire speed and voltage correctly could make or break my welds.
If you’ve ever struggled with getting the perfect bead or wondered why your welds are inconsistent, understanding the Lincoln MIG welding wire speed and voltage chart is crucial.

Image by weldingtipsandtricks
This guide will walk you through everything you need to know about setting up your Lincoln MIG welder for different materials and wire sizes. Whether you’re a beginner or an experienced welder, this information will help you achieve cleaner, stronger welds.
Wire Speed and Voltage in MIG Welding
Before we get into the specific settings, let’s go over what wire speed and voltage actually do in MIG welding.
Wire Feed Speed (WFS) – This controls how fast the welding wire is fed through the gun. It’s measured in inches per minute (ipm). A faster wire feed speed increases the amperage, which leads to deeper penetration. However, too much speed can cause excessive spatter or even burn-through.
Voltage – This controls the arc length and affects how the weld bead forms. Higher voltage produces a flatter, wider bead, while lower voltage results in a narrower, taller bead. If your voltage is too low, your arc may be erratic, but too much voltage can cause excessive heat input.
The key is to balance wire feed speed and voltage according to the material thickness and the wire size you’re using.
Lincoln MIG Welding Wire Speed and Voltage Chart
Finding the right settings can be tricky, so I’ve put together a useful chart to help you get started. These values are based on general recommendations from Lincoln Electric and real-world experience.
| Material Thickness (inches) | Wire Diameter (inches) | Wire Feed Speed (ipm) | Voltage (Volts) |
|---|---|---|---|
| 0.024 | 0.025 | 50 – 90 | 15 – 18 |
| 0.030 | 0.025 | 80 – 150 | 16 – 19 |
| 0.036 | 0.030 | 100 – 200 | 17 – 20 |
| 0.048 | 0.035 | 140 – 220 | 18 – 21 |
| 0.060 | 0.035 | 170 – 250 | 19 – 22 |
| 0.074 | 0.045 | 210 – 300 | 20 – 23 |
| 0.104 | 0.045 | 240 – 320 | 21 – 24 |
| 0.125 | 0.052 | 275 – 350 | 22 – 25 |
| 0.187 | 0.052 | 300 – 400 | 23 – 26 |
| 0.250 | 0.062 | 350 – 450 | 24 – 27 |
Note: These settings are a starting point. Your final adjustments should be based on your specific project, machine, and welding position.
How to Adjust Your Lincoln MIG Welder for Optimal Settings
Now that you have a reference chart, let’s go over how to actually set up your welder for the best results.
Check Your Welder’s Manual
Every Lincoln welder has a recommended settings guide. Many models even have a wire speed and voltage chart printed inside the machine. Always check these first to see if Lincoln provides specific recommendations for your model.
Set the Wire Speed First
Start by adjusting the wire feed speed based on the material thickness and wire size. If your wire speed is too slow, your welds will be inconsistent, and the arc may keep cutting out. If it’s too fast, you’ll get excessive spatter.
Adjust the Voltage
Once your wire speed is set, fine-tune your voltage. If the voltage is too low, the arc will be unstable and could lead to a bead that is too narrow or irregular. If it’s too high, you may end up with excessive heat input, which can cause distortion or burn-through on thin materials.
Perform a Test Weld
Before committing to your final weld, always do a test on a scrap piece of the same material. This will help you identify if any settings need further adjustments.
Listen to the Arc
A properly set MIG welder should produce a steady, consistent buzzing sound. If you hear excessive popping or sputtering, your settings may need adjusting.
Common Issues and How to Fix Them
Even with the right settings, sometimes things don’t go as planned. Here are some common MIG welding issues and how to fix them:
Excessive Spatter – This can be caused by high wire speed, incorrect voltage settings, or improper torch angle. Try reducing the wire speed or adjusting the voltage.
Burn-Through – If your weld is melting through the metal, your voltage may be too high, or your wire speed may be too fast. Reduce both slightly and try again.
Cold Welds (Lack of Fusion) – If your weld isn’t penetrating properly, you may need to increase the voltage or wire speed slightly. Also, make sure your travel speed is not too fast.
Porosity (Tiny Holes in Weld Bead) – This is usually caused by contamination in the metal or shielding gas issues. Make sure your workpiece is clean, and check that your gas flow is set correctly.
Best Practices for Using a Lincoln MIG Welder
To get the best results from your Lincoln MIG welder, keep these best practices in mind:
Use the Right Shielding Gas – For mild steel, a mix of 75% argon and 25% CO2 works best. If you’re welding stainless steel, you’ll need a different gas mixture.
Keep Your Nozzle Clean – Spatter buildup can interfere with gas flow and lead to poor welds. Regularly clean your nozzle and contact tip.
Maintain Proper Stick-Out – Stick-out refers to how much wire extends from the contact tip before you start welding. For most MIG welding applications, keeping it around ⅜ to ½ inch works best.
Use a Steady Hand – Try to maintain a consistent travel speed. Moving too fast can lead to weak welds, while moving too slow can cause excessive heat buildup.
Conclusion
Getting the wire feed speed and voltage settings right on a Lincoln MIG welder takes practice, but once you understand the basics, it becomes second nature.
By using the recommended settings as a starting point, performing test welds, and making small adjustments as needed, you can achieve high-quality, strong welds every time.
MIG welding is one of the most versatile and beginner-friendly welding processes, but even seasoned welders need to fine-tune their settings for different materials and projects. The key is to balance wire feed speed and voltage while paying attention to the arc and bead formation.
If you’re just getting started, don’t get discouraged. Experiment with different settings, keep your work area clean, and always wear the right safety gear. Over time, you’ll develop a feel for what works best, and your welds will only get better.
FAQs
Why is my weld bead too tall and narrow?
This usually happens when your voltage is too low or your travel speed is too slow. Try increasing the voltage slightly and making sure you’re moving at a steady pace.
What causes excessive spatter when MIG welding?
High wire speed, incorrect voltage settings, or holding the torch at the wrong angle can all cause excessive spatter. Try reducing the wire speed and checking your voltage.
How do I prevent burn-through on thin metal?
Use lower voltage and wire speed settings. Also, consider using a smaller wire diameter for better control over the heat input.
Can I weld aluminum with a Lincoln MIG welder?
Yes, but you’ll need a spool gun and the correct shielding gas. Aluminum welding requires different settings than mild steel.
Why does my MIG welder keep losing the arc?
This could be due to low voltage, inconsistent wire feed, or poor grounding. Check your settings, make sure your wire feed is steady, and confirm that your work clamp is making a good connection.


