Welding cast iron with oxy-acetylene is a skill that takes patience and the right technique, but when done correctly, it can produce strong and reliable repairs. Many people think welding cast iron is nearly impossible because of how brittle it can be, but I’ve worked with it firsthand, and I can tell you that with the right approach, it’s completely doable.

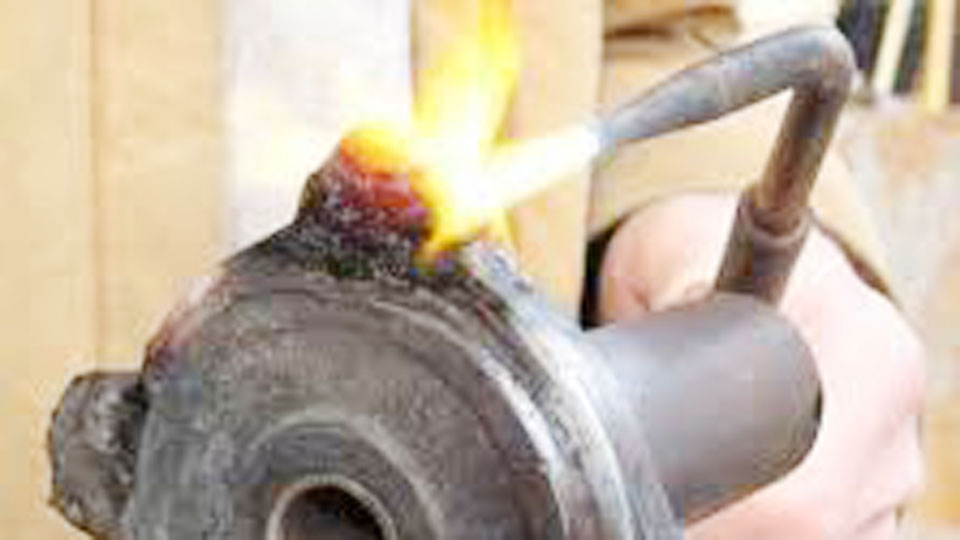
Image by mtfca
Cast iron is used in all kinds of applications, from engine blocks and pipes to machinery parts and decorative items. When it cracks or breaks, replacing it can be expensive or even impossible. That’s where welding comes in.
Oxy-acetylene welding is one of the oldest and most effective ways to repair cast iron, and it’s especially useful for fixing small cracks and broken sections.
If you’re looking to learn how to weld cast iron with oxy-acetylene, I’ll walk you through the entire process step by step. I’ll cover everything from preparation to welding techniques and finishing, so you’ll know exactly what to do to get strong, lasting results.
Cast Iron and Its Challenges
Before jumping into the welding process, it’s important to understand why cast iron is so tricky to weld. Unlike steel, cast iron contains high levels of carbon (2-4%), which makes it hard, brittle, and prone to cracking when heated or cooled too quickly.
The key to successfully welding cast iron is to control the heat carefully and to slow down the cooling process to prevent stress fractures.
There are different types of cast iron, and some are easier to weld than others:
| Type of Cast Iron | Weldability | Characteristics |
|---|---|---|
| Gray Cast Iron | Moderate | Most common type, absorbs heat well but prone to cracking |
| White Cast Iron | Very difficult | Hard and brittle, not recommended for welding |
| Malleable Cast Iron | Difficult | Can be welded, but requires preheating and slow cooling |
| Ductile Cast Iron | Moderate | Stronger and more flexible, but still requires careful heating |
For most oxy-acetylene welding jobs, gray cast iron is the best candidate because it absorbs heat better than white or malleable cast iron.
Tools and Materials Needed
To weld cast iron with oxy-acetylene, you’ll need the right setup. Here’s what I recommend:
- Oxy-acetylene torch – A standard welding torch with a neutral flame setting.
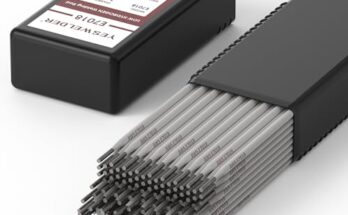
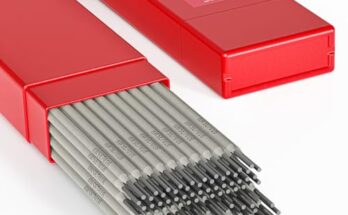
- Welding rod – Nickel-based rods work best, but cast iron filler rods or brass rods can also be used.
- Flux – Helps clean the metal and prevents oxidation.
- Wire brush – For cleaning the surface before welding.
- Angle grinder – To prepare the area and remove cracks.
- Preheating torch – To slowly heat the metal before welding.
- Clamps – To hold broken pieces together.
- Firebrick or sand – Used to insulate the part for slow cooling.
Preparing the Cast Iron for Welding
Proper preparation is half the battle when welding cast iron. If you skip this step, you risk getting weak welds or cracks forming after the weld cools.
- Clean the Surface
- Remove any dirt, grease, paint, or rust from the area you’ll be welding.
- Use an angle grinder or wire brush to clean the crack or broken section.
- If possible, drill small holes at the ends of the crack to prevent it from spreading.
- Preheat the Cast Iron
- Slow, even heating is crucial to prevent stress fractures.
- Use a preheating torch to gradually heat the cast iron to 500-1200°F, depending on the size and thickness of the piece.
- Keep the heat evenly distributed across the part.
- Choose the Right Welding Rod
- Nickel rods are the best choice because they bond well and remain flexible after cooling.
- Cast iron rods can work but are harder and more brittle.
- Brass rods with flux can be used for lower-strength repairs.
Welding Cast Iron with Oxy-Acetylene
Once your piece is preheated and ready, it’s time to start welding.
- Set the Torch Flame
- Use a neutral flame (equal balance of oxygen and acetylene).
- Avoid an oxidizing flame, as it can cause the cast iron to become brittle.
- Apply the Filler Rod and Flux
- Dip the rod into the flux before welding to prevent oxidation.
- Move slowly and steadily, letting the metal flow naturally.
- Avoid overheating the area—cast iron melts at a lower temperature than steel and can become weak if overheated.
- Use the Right Welding Technique
- Short bead method – Weld in short, controlled beads, allowing the metal to cool slightly between passes.
- Skip welding – Move around the workpiece instead of focusing heat in one spot to prevent cracking.
- Weave pattern – A slight side-to-side motion helps distribute the heat evenly.
Cooling the Welded Cast Iron
This step is just as important as the welding itself. If cast iron cools too quickly, it will crack.
- Slow cooling is essential – Place the welded piece in a bed of sand, firebrick, or an insulated box to cool down slowly.
- Avoid cold air exposure – Keep the part covered and let it cool over several hours.
- Check for stress cracks – Once fully cooled, inspect the weld for any signs of cracking.
Finishing and Strength Testing
Once the weld has cooled, you’ll want to check the strength and finish the repair properly.
- Grind the weld smoothly if necessary.
- Reheat gently to relieve stress if you notice any cracks forming.
- Test the strength by applying slight pressure to see if the weld holds.
Mistakes and How to Avoid Them
| Mistake | Cause | Solution |
|---|---|---|
| Cracks forming after cooling | Cooled too fast | Use sand or firebricks for slow cooling |
| Brittle welds | Incorrect filler rod | Use nickel-based rods for flexibility |
| Overheating the metal | Torch set too high | Use a neutral flame and heat gradually |
| Poor weld adhesion | Surface not clean | Always grind and clean before welding |
Conclusion
Welding cast iron with oxy-acetylene is a skill that takes practice and patience, but once you master it, you can save a lot of time and money on repairs. The most important factors are preheating properly, using the right filler rod, controlling your heat, and cooling the metal slowly to avoid cracking.
If you’ve never welded cast iron before, start with small practice pieces before working on important parts. With the right approach, you’ll be able to repair engine blocks, machinery, and household items with confidence.
Frequently Asked Questions
Can I weld cast iron without preheating?
It’s possible but not recommended. Preheating reduces stress and prevents cracking.
What’s the best welding rod for cast iron?
Nickel-based rods work best, but cast iron or brass rods can also be used depending on the application.
How long should I let cast iron cool after welding?
Ideally, at least 6-12 hours in an insulated environment to prevent stress fractures.
Can I use a standard oxy-acetylene torch to weld cast iron?
Yes, as long as you use a neutral flame and the proper welding technique.
How do I prevent cracks when welding cast iron?
Slow heating, controlled welding, and very slow cooling are the best ways to prevent cracks.
With the right approach, you can successfully weld cast iron and create strong, lasting repairs.


