When I first tried to solder copper to aluminum, I figured it would be a quick job. I had experience soldering copper pipes and electrical wires, so I thought this would be just another easy task. But I quickly found out that copper and aluminum are very different metals—and getting them to bond is not as simple as grabbing a soldering iron and some wire.
If you’re here wondering how to solder copper to aluminum, don’t worry. You’re not alone. I’ve been there, made a few mistakes, and learned how to do it the right way. I’ve done this many times since then, especially for HVAC work, automotive repairs, and small DIY projects.
And now I want to walk you through the entire process step-by-step, using clear language and tips that actually work in real-world situations.
Let’s get started. You don’t need to be a professional welder or engineer to do this. You just need the right tools, a little patience, and the willingness to learn.
Why Soldering Copper to Aluminum is Tricky


The main challenge is that these two metals don’t play well together. They have different melting points, different rates of thermal expansion, and they form oxides that make bonding difficult. Aluminum, in particular, forms a layer of aluminum oxide the second it’s exposed to air. That layer prevents the solder from sticking properly.
Copper is easy to solder with regular tin-lead solder, but aluminum needs special care. Also, when these two metals are in contact over time, they can develop something called galvanic corrosion. This means one of the metals (usually aluminum) corrodes faster than normal because of the electrical differences between the metals.
The good news is—you can solder them together successfully with the right approach. I’ve done it many times, and you can too.
Tools and Materials You’ll Need
Before we even heat anything up, let’s talk about what tools you’ll need. I’ll be honest with you—regular solder and regular flux won’t work here. You’ll need some special materials that are made to handle this type of job.
Here’s a simple table of the tools and supplies I use every time:
| Item | Purpose |
|---|---|
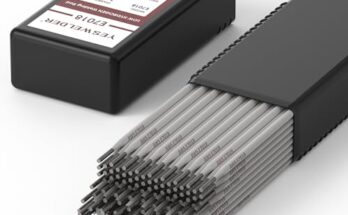
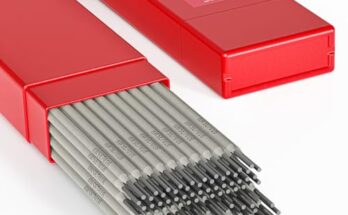
| Zinc-based solder | Designed for aluminum and copper bonding |
| Aluminum soldering flux | Removes oxide layers on aluminum |
| Soldering torch or iron | A high-heat source to melt the solder properly |
| Sandpaper or wire brush | To clean the surface of both metals |
| Clamps | To hold the metals in place during the process |
| Heat-resistant gloves | For safety and comfort |
| Safety goggles | Protect your eyes from flux splatter and hot metal |
| Workbench or fire-safe surface | Provides a stable area to work on |
I recommend working in a well-ventilated area because soldering aluminum flux can release fumes that aren’t great to inhale.
Prepping the Metals
I always say this is the most important step. If you don’t prep the metals correctly, nothing else will work. You’ll end up with a weak joint that might look okay for a few days but will eventually fail.
Start with a wire brush or medium-grit sandpaper. You want to remove the outer layer of oxidation from both the copper and the aluminum. Don’t just do a light pass. Really scrub until the surfaces look bright and shiny.
Once you’ve cleaned the surfaces, apply aluminum-compatible soldering flux to both pieces. You can use a brush or cotton swab for this. Make sure you coat the area evenly. Don’t worry about using too much—flux is your best friend here. It’s what allows the solder to wet the metal and bond properly.
Choosing the Right Solder
This part is critical. If you use regular electrical solder, it won’t work. It won’t bond to the aluminum at all, and you’ll just end up frustrated.
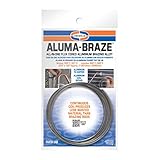
The best solder for this job is usually zinc-based, and sometimes you’ll see it labeled as aluminum solder or aluminum-copper solder. It melts at a lower temperature than traditional solder, and it’s designed specifically for bonding dissimilar metals like these.
Some types come with built-in flux, which can be helpful, but I still like to apply extra flux for better bonding.
Heating and Soldering the Joint
Now we get to the part where the magic happens. This step can be a little tricky the first time you try it, so take your time. Here’s what I recommend:
- First, clamp your copper and aluminum pieces in place so they won’t move while you work.
- Use a torch or high-power soldering iron to begin heating the aluminum first. Aluminum needs more heat to reach the correct temperature.
- After heating for 15–20 seconds, move the heat to the copper and bring both parts to an even temperature.
- Touch the solder to the joint—not directly to the flame or iron.
- If the metals are hot enough, the solder will melt and flow into the joint.
- Use your iron or torch to guide the solder around the joint. You want a nice, even flow.
- Remove the heat and allow the joint to cool naturally. Don’t touch it or move the pieces while it cools.
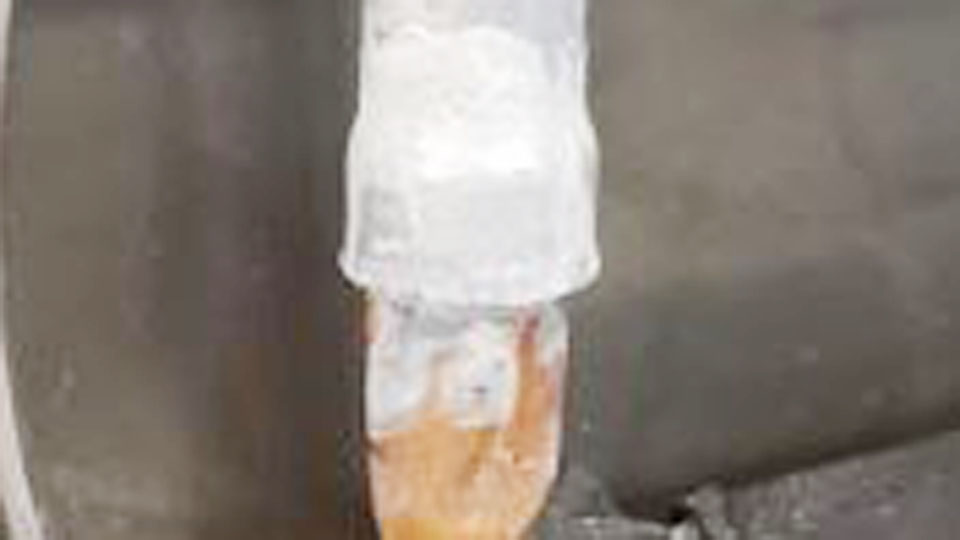
Checking the Joint
Once everything cools down, inspect the joint. A good soldered connection should be shiny and smooth. It shouldn’t have any cracks or bubbles. If it looks dull or grainy, that might mean the joint didn’t bond properly.
In some cases, I’ll tug gently on both sides to test the strength. If it holds up without any movement, you’re good to go.
Tips That Helped Me Get Better at This
Here are some tips I picked up after several trial-and-error attempts:
- Don’t overheat the aluminum – It doesn’t change color when heated like steel, so it’s easy to overdo it. Keep your torch moving.
- Always clean both metals just before soldering – Even a little oxidation can ruin the bond.
- Use fresh flux if it starts to burn off – Don’t hesitate to reapply.
- Practice on scrap pieces – Don’t start with your final project. Practice makes a huge difference.
When to Solder and When to Use Other Methods
Soldering is a great option for lightweight connections and electrical applications. But if you’re dealing with structural parts or joints that will face a lot of stress, soldering might not be enough.
Here’s a quick comparison to help you decide:
| Method | Best Use | Notes |
|---|---|---|
| Soldering | Electrical, HVAC, light-duty | Easy and clean but not super strong |
| Brazing | Moderate stress applications | Stronger bond but needs higher heat |
| Welding | Structural, heavy-duty | Very strong but not ideal for dissimilar metals |
| Mechanical Fasteners | Removable or temporary joints | Great for flexibility and repairs |
Common Mistakes to Avoid
Let me save you some time by pointing out the most common mistakes I made early on:
- Using rosin-core solder or regular electrical solder
- Skipping the flux or using the wrong type
- Not cleaning the metals thoroughly
- Heating the solder instead of the metal
- Moving the pieces before the joint cooled
If you avoid those, your chances of success go way up.
Safety First
I always wear gloves and safety glasses when soldering. Flux can splatter, and the metals can get hot fast. Also, work in an area that’s free from anything flammable. A fireproof surface or metal bench is ideal.
Ventilation is important too. The fumes from aluminum soldering flux can irritate your lungs. If you’re working indoors, crack a window or use a fan to keep fresh air moving.
Applications Where I’ve Used This Method
There are a surprising number of places where soldering copper to aluminum is useful. I’ve used this method in:
- HVAC systems (joining copper pipes to aluminum fins)
- Car repairs (electrical terminals and body grounding)
- Electronics (making lightweight circuit repairs)
- Home appliances
- Hobby projects like model building
Once you learn the technique, you’ll find all sorts of uses for it.
Final Thoughts
Learning how to solder copper to aluminum changed the way I handle repairs and custom work. At first, it seemed intimidating. But once I understood the science behind it and got the right tools, it became a skill I rely on all the time.
This isn’t something you master in five minutes. It’s not rocket science either. With a clean work area, proper tools, and some practice, you can solder these metals together reliably and safely.
If you’re just getting started, don’t rush. Follow the steps, ask questions, and practice on scrap pieces. The more you do it, the easier it becomes. And when you see that perfect, shiny joint holding strong—you’ll know it was worth the effort.
Frequently Asked Questions
What solder works best for aluminum to copper?
A zinc-based solder is best. It’s designed for joining dissimilar metals like aluminum and copper.
Can I use regular rosin-core solder?
No, it won’t bond to aluminum properly. Always use aluminum-compatible solder and flux.
Why won’t my solder stick to the aluminum?
The aluminum probably has an oxide layer. Use a wire brush to clean it, and apply aluminum soldering flux.
Can I solder with a regular soldering iron?
Sometimes, but aluminum needs a lot of heat. A torch or high-wattage iron is better.
Is it safe to solder copper and aluminum together for electrical work?
Yes, as long as you use the right materials and take steps to prevent galvanic corrosion.
Do I need to worry about corrosion later?
Yes, over time the joint can corrode. You can slow this by using dielectric grease or anti-corrosion paste.
Should I let the joint cool naturally?
Always. Don’t use water or fans. Sudden cooling can weaken the joint.