If you’re like me, you probably love getting creative with everyday items. One of my favorite DIY projects involves transforming a plain galvanized metal bucket into something beautiful and personalized. If you’re using it as a rustic planter, a farmhouse-style ice bucket, or decorative storage, painting a galvanized metal bucket can completely change its look.
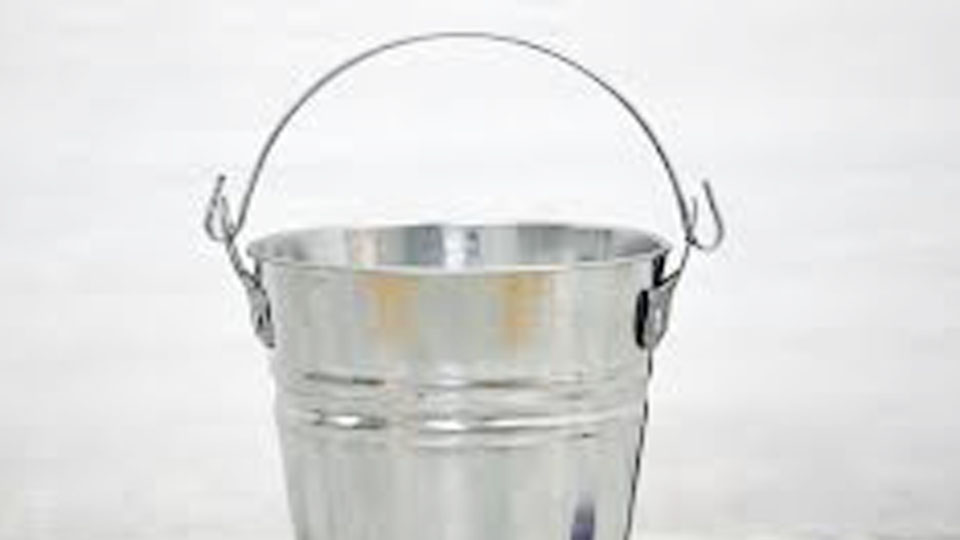
Image by bucket-outlet
Painting galvanized metal isn’t as simple as picking up a brush and going to town. If you don’t prep it right, that shiny surface won’t hold onto the paint. I’ve gone through the trial-and-error process myself, and I’m here to help you avoid the common pitfalls.
Let me walk you through everything I’ve learned about how to paint a galvanized metal bucket the right way—so your project turns out stunning and lasts for years.
What is Galvanized Metal?


Before we dive into painting, it helps to understand what galvanized metal actually is. Galvanized metal, especially buckets, are typically made from steel or iron and coated in a thin layer of zinc. This zinc coating protects the metal from rust and corrosion, which is perfect for outdoor or utility use.
But here’s the catch—the zinc coating also creates a surface that’s tough for paint to stick to. That’s why prep work is absolutely essential if you want your paint job to last.
Why Painting Galvanized Metal Requires Special Prep
I remember the first time I tried to paint a galvanized bucket—I skipped the prep and just went ahead with regular acrylic paint. It looked great at first, but after a couple of weeks, the paint started flaking off. That’s when I realized how important it is to treat the surface properly.
The zinc coating on galvanized metal reacts with paint in a way that causes it to peel or bubble. To get around that, you need to clean it, etch it slightly, and apply the right kind of primer before even thinking about color.
Tools and Materials You’ll Need
Let me make your life easier by listing everything you’ll need before starting this project. I’ve included a handy table below to keep things clear:
| Item | Purpose |
|---|---|
| Galvanized metal bucket | The star of the project |
| Dish soap and water | For cleaning dirt and oils |
| White vinegar or muriatic acid | For etching the surface |
| Clean rags or microfiber cloths | For drying and wiping down |
| Fine-grit sandpaper (around 220) | To rough up the surface slightly |
| Self-etching primer | Key to making the paint stick |
| Spray paint or acrylic paint for metal | Your color choice |
| Clear topcoat or sealer | For durability |
| Gloves and safety glasses | Always play it safe |
Make sure you’ve got a well-ventilated space to work in, especially when using primers or spray paint.
Step 1: Clean the Bucket Thoroughly
First things first—clean that bucket like your project depends on it (because it does). Galvanized metal often comes with an oily film from the manufacturing process. If you don’t remove it, the paint won’t adhere properly.
Fill a bucket with warm water and a few drops of dish soap. Use a sponge or rag to scrub the entire surface of the bucket. Don’t forget the inside if you’re painting it too. Rinse it thoroughly and dry it with a clean towel.
Let it air dry completely before moving to the next step.
Step 2: Etch the Surface with Vinegar
This is where things get interesting. To help the paint stick better, you need to slightly etch the surface of the zinc coating. I’ve found white vinegar to be the safest and easiest way to do this at home.
Just soak a clean cloth in vinegar and rub it over the entire surface of the bucket. Let it sit for 15–20 minutes. You may notice a slightly duller finish—that’s a good sign! That means the acid is reacting and roughening up the surface just enough.
If you want something stronger (especially for older, more stubborn coatings), muriatic acid works too, but it’s much more caustic. Always wear gloves and use it with caution if you go that route.
Step 3: Lightly Sand the Surface
Once the bucket is etched and dry, take some fine-grit sandpaper and lightly sand the entire surface. You’re not trying to remove the metal coating—just rough it up a bit to give the primer something to grab onto.
Wipe down the bucket afterward with a clean, dry cloth to remove any dust.
Step 4: Apply Self-Etching Primer
Here’s a step you absolutely should not skip. A good self-etching primer is specially designed for metal surfaces, especially galvanized ones. It helps the paint adhere better and keeps it from chipping later on.
I like to use a spray version for even coverage, but you can also brush it on if you prefer. Apply a thin, even coat and let it dry according to the manufacturer’s instructions—usually about 30 minutes to an hour.
Once dry, check for any drips or uneven spots and sand lightly if needed.
Step 5: Paint the Bucket
Now the fun part—color! Choose a paint that’s made for metal surfaces. You can go with spray paint for quick, even coverage or use acrylic paint if you want more control and detail.
If you’re spray painting, hold the can about 10–12 inches from the surface and apply light coats, letting each layer dry before applying the next. I usually do 2–3 coats for a solid, vibrant finish.
If using a brush, work in thin layers and allow ample drying time between coats.
Step 6: Apply a Clear Topcoat
To make your beautiful work last, seal it with a clear topcoat or polyurethane sealer. This protects your paint job from scratches, weather, and wear—especially important if the bucket will be outdoors or used often.
Choose a topcoat that’s compatible with your paint. Spray versions are easy to apply, but brush-on versions give a thicker coat if needed.
Optional Step: Add Creative Touches
This part is where you can let your creativity shine. Here are a few ideas I’ve tried or seen others use:
- Stencil designs: Add names, quotes, or floral patterns.
- Chalkboard paint: Great for labeling buckets used in the kitchen or garden.
- Distressing: Lightly sand the edges for a rustic or vintage look.
- Twine or rope: Wrap the handle or rim for farmhouse flair.
The possibilities really are endless, and no two buckets ever turn out the same!
Maintenance Tips for Painted Buckets
Once your bucket is painted and sealed, take care of it so it lasts:
- Avoid soaking it in water. While sealed, extended exposure to moisture can still cause damage.
- Clean gently with a soft cloth. No harsh scrubbing.
- Reapply clear coat every year if it’s used outdoors.
With just a little love, your bucket will keep looking amazing for years to come.
Final Thoughts
Painting a galvanized metal bucket might sound simple, but doing it right makes all the difference. When I took the time to learn the proper process, I realized it’s not just about slapping on some color—it’s about making something that lasts and looks amazing.
Now that you know how to do it step-by-step, I hope you feel confident to start your own project. If you’re sprucing up your garden, organizing your tools, or just adding some charm to your home, a freshly painted bucket can add a lot of personality.
So go ahead—grab that bucket, pick your favorite color, and get started. Trust me, it’s worth the effort.
FAQs
What kind of paint sticks to galvanized metal?
You need paint that’s specifically made for metal surfaces. Spray paint labeled for metal or acrylic paint combined with a self-etching primer will work best.
Do I have to use primer on galvanized metal?
Yes, especially self-etching primer. It helps the paint stick to the smooth, zinc-coated surface and prevents peeling.
Can I use chalk paint on galvanized metal buckets?
Yes, but you still need to clean, etch, and prime the surface first. Chalk paint on its own won’t adhere well to galvanized metal.
How long does the paint last on a galvanized bucket?
With proper prep and sealing, the paint can last several years—even outdoors. Touch up the topcoat annually for best results.
Can I use a galvanized bucket as a planter after painting it?
Absolutely! Just make sure to add drainage holes if there aren’t any already, and use a weather-resistant sealant to protect the paint.