If you’ve ever stood over a MIG welder, trying to dial in the right settings for a thick steel plate after working on thin sheet metal, you know how tricky it can get. I’ve been there many times, learning through sparks, bad welds, and a lot of grinding.
I want to walk you through how to MIG weld different thickness metals with confidence, clarity, and consistency.
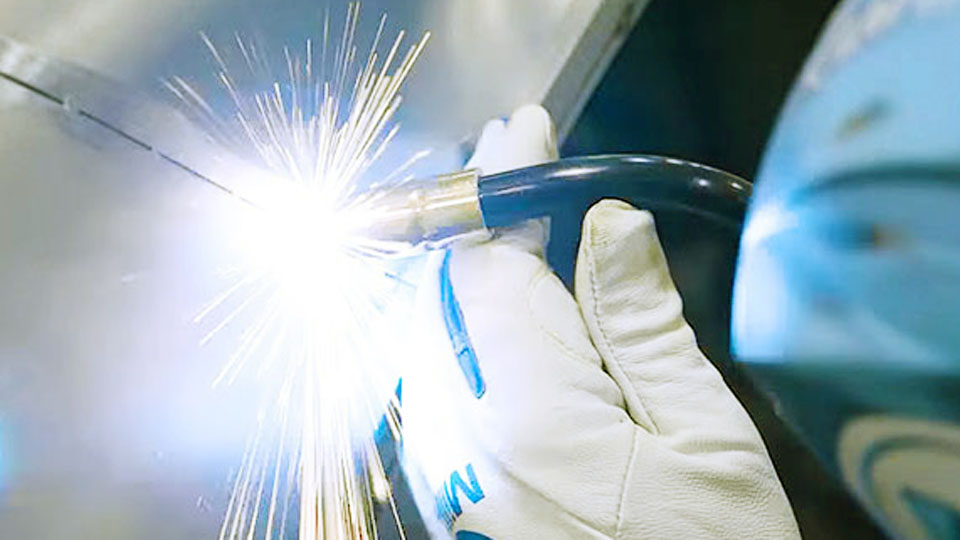
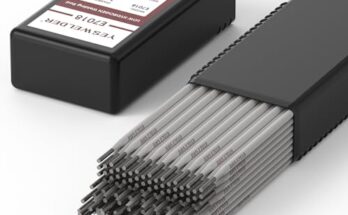
Image by millerwelds
If you’re working in your garage, a small fab shop, or starting out in the welding world, this guide will help you understand how to handle various metal thicknesses with your MIG welder.
We’ll cover everything you need—settings, techniques, wire selection, and safety tips—without diving into overly complex terms. Just real advice from one welder to another.
Metal Thickness in MIG Welding


Before you even strike an arc, you need to understand the metal you’re working with. Metal thickness is usually measured in gauge or inches.
The higher the gauge number, the thinner the metal. For example, 22-gauge sheet metal is thinner than 10-gauge steel.
Here’s a quick look at common metal thicknesses:
| Gauge (Steel) | Thickness (inches) | Common Use |
|---|---|---|
| 22 | 0.030 | Automotive body panels |
| 16 | 0.060 | Ductwork, thin enclosures |
| 10 | 0.135 | Frames, brackets, light fab |
| 3/16″ | 0.1875 | Trailers, supports |
| 1/4″ | 0.250 | Structural steel, heavy-duty |
Every thickness reacts differently to heat. Thin metals warp or burn through fast, while thick ones need a lot of amperage to get proper penetration. That’s why your approach must change based on what you’re welding.
Setting Up Your MIG Welder for Different Thicknesses
This is where everything starts. You want to get your machine dialed in before you begin. Different metal thicknesses call for different amperage, wire feed speed, and voltage.
Here’s what I’ve learned through experience:
Thin Metal (22–18 gauge): Low voltage and low wire feed speed. Use a smaller wire like .023” or .030”. Short circuit transfer is ideal here.
Medium Metal (16–10 gauge): Medium voltage and moderate wire feed speed. .030” or .035” wire works well.
Thick Metal (3/16” and up): Higher voltage and faster wire feed. Consider .035” or .045” wire. You may want to switch to spray transfer for better penetration.
Modern MIG welders often come with a chart inside the cover. That chart gives a ballpark setting for each metal thickness. Use it. It’s a great starting point.
But remember, those are starting points. Always test on a scrap piece first.
Choosing the Right Wire Size and Type
This part matters more than people realize. The wire you feed into your weld puddle plays a major role in the quality of your weld.
Here’s what usually works best:
- .023” wire: Great for thin sheet metal. Easier to control, less heat input.
- .030” wire: A versatile choice. Works on sheet metal and medium thicknesses.
- .035” wire: Better for 1/8” steel and thicker. Gives good deposition.
- .045” wire: Meant for heavy-duty work. Use only on thick plate metal.
The type of wire matters. For mild steel, ER70S-6 is commonly used. It contains more deoxidizers, which helps with welding on slightly dirty or rusty metal—though you should always clean your workpiece anyway.
Gas Selection for MIG Welding
If you’re using solid wire (which most people do for indoor MIG), you’ll need shielding gas. Your choice of gas affects your arc characteristics, penetration, and spatter.
Here’s what I use:
75% Argon / 25% CO₂ (C25): This is the most common and versatile gas mix. Clean arc, low spatter, good penetration.
100% CO₂: Cheaper and gives deeper penetration, but more spatter. Good for thick, structural steel if cleanliness isn’t critical.
90% Argon / 10% CO₂ (Spray Transfer): If you’re working on thick metal and want a smooth, spray arc with deeper fusion.
Use the right gas for the job, and your welds will look cleaner and perform better.
Techniques for Welding Thin Metal
Welding thin sheet metal can be challenging. It warps quickly, and burn-through happens in a blink. Here are some techniques that have helped me over the years:
- Use stitch welding or tack welds: Instead of running a long bead, make a series of small tack welds spaced apart. Let them cool before adding more.
- Backstep welding: Weld in short sections going in the opposite direction of the previous weld. This helps distribute heat.
- Use a heat sink: Clamping a copper plate behind the weld area can absorb excess heat and prevent burn-through.
- Lower amperage: Keep settings as low as possible while still getting fusion. High heat is your enemy on thin metal.
Go slow and steady. It’s all about controlling the heat.
Techniques for Medium Thickness Metal
This is where MIG welding really shines. Metals around 1/16″ to 1/8″ thick are easy to weld once your machine is dialed in.
Here’s what I recommend:
- Push the puddle: With MIG, a push angle gives better visibility and less spatter. Hold your torch at about a 10–15 degree push angle.
- Weave slightly for wider welds: If you’re covering a larger joint, use a small weave to fill the space without overheating.
- Keep your wire speed steady: You want a consistent sound, like frying bacon. That means your settings are right.
For lap joints, butt welds, and T-joints in this thickness, you’ll have fewer problems as long as you stay consistent and keep your torch moving smoothly.
Techniques for Thick Metal
Thick metal—anything over 3/16”—requires more prep and power. This is where you need a strong machine and good technique.
Here’s how I handle it:
Bevel the edges: For anything over 1/4″, I usually bevel the edges to about 30 degrees. This allows for deeper penetration and a stronger weld.
Multiple passes: One pass usually won’t cut it. Do a root pass, then filler passes, and finish with a cap pass if needed.
Preheat when necessary: For very thick pieces, preheating the metal with a torch can help reduce the chance of cracking.
Use spray transfer mode: If your machine supports it, spray transfer gives excellent penetration and a smooth finish. Just make sure your gas mix is right.
Also, clamp your work securely. Thicker pieces can shift during welding due to heat stress.
Adjusting Travel Speed and Torch Angle
Your hand movements make or break the weld. No matter how perfect your settings are, a poor technique will ruin the joint.
Here’s what to keep in mind:
- Travel speed: Go too slow, and you’ll get too much buildup and heat. Go too fast, and you’ll get poor fusion. Aim for a pace that leaves a consistent bead.
- Torch angle: A 10 to 15-degree push angle is usually best for MIG welding. Keep the tip 3/8″ to 1/2″ away from the workpiece for solid control.
- Maintain a steady motion: If you weave or go straight, keep it smooth. Avoid jerky movements or stopping in the middle.
Consistency is more important than speed.
Mistakes When Welding Different Thicknesses
We’ve all been there. These are some common mistakes I see people make, including my younger self:
- Using the same settings for every metal thickness
- Skipping metal prep (dirty metal = bad welds)
- Trying to weld thin metal with .035” wire
- Overheating thin metal and causing warping
- Not beveling thick metal
- Running beads too fast on thick steel, leading to poor penetration
Mistakes are part of the learning process. But being aware of them helps you improve faster.
Safety Tips While Welding Different Thicknesses
No matter what thickness you’re welding, safety comes first. I’ve had a few close calls and learned the hard way.
- Wear proper PPE: Always wear gloves, a welding jacket, and a quality auto-darkening helmet.
- Ventilation is key: MIG welding produces fumes. Make sure your space is well-ventilated or use an exhaust hood.
- Secure your workpiece: Use clamps to keep metal stable. Movement during welding can ruin the joint and create hazards.
- Watch for hot metal: Thicker metals hold heat longer. Let them cool properly before touching or moving.
Never rush your prep or safety steps. One mistake can set you back for days—or worse.
Conclusion
MIG welding different thickness metals is all about knowing your material and adjusting your technique. It’s not a one-size-fits-all job. Every metal thickness comes with its own set of challenges and rewards.
When you’re working on thin sheet metal, it’s all about finesse and heat control. With medium-thickness metal, MIG welding becomes easier and more forgiving. And for thick metal, it’s about preparation, power, and patience.
I’ve spent years learning these things through trial, error, and burnt sleeves. And I’m still learning. That’s the beauty of welding—it’s always evolving, and so are we.
If you remember one thing from all this, it should be: adjust your approach for each project. With the right settings, wire, and patience, you’ll be stacking beautiful beads in no time.
Frequently Asked Questions
What size MIG wire is best for welding thin metal?
.023” or .030” wire works best for thin metal like automotive sheet metal. It allows better control and reduces the risk of burn-through.
Can I use the same settings for 1/8” steel and 1/4” steel?
No. You should increase voltage, wire feed speed, and possibly change wire size when moving to thicker steel for proper penetration.
What happens if I don’t bevel thick metal before welding?
You risk poor penetration and weak welds. Beveling allows the weld to fuse deeper into the joint, making it stronger.
Is preheating necessary for MIG welding?
For very thick steel or when welding in cold conditions, preheating helps reduce the risk of cracking and ensures better penetration.
Should I push or pull the MIG torch?
Pushing is generally preferred in MIG welding. It gives a cleaner finish and better gas coverage. Pulling can work in some cases, but it often results in more spatter.
Can I MIG weld different thickness metals together?
Yes, but you must favor the thinner piece with your heat. Use lower settings and aim more at the thicker part to avoid burning through the thin metal.